I usually plan out the subject for my posts well in advance. But that was not the case with this post. Last week, a grinding sound began to emit from my main desktop. I assumed that it was the CPU fan without bothering to open the case, and ordered one from The Fan Van seller on eBay, who was recommended to me. When it promptly arrived, I opened the my desktop’s case . . . and it was not the CPU fan afterall.
It was the GPU cooler instead.
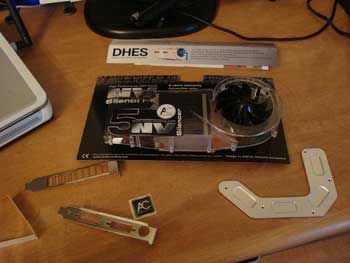
My Arctic Cooling Silencer NV5 Revision 3 is a replacement for the factory heatsink on my nVidia GeForce 6800 GT graphics card. It is compatible with all nVidia GeForce 6800’s and apparently 7800’s
as well. So I scramble to find a replacement, and they are very hard to find. I was only able to find one place. Arctic Cooling has a 6 year warranty on this part and offered to replace it RMA. I needed one ASAP, so I ordered the one I found and shipped my old one to Arctic Cooling’s site in California for replacement. I guess I will sell the replacement whenever it arrives.
EDIT: 03/25 – Arctic Cooling did stick to their word and issued a replacement under warranty. Very Generous.
Now on to the installation.
But first, we will need some theme music . . .
Now we will actually get on with the installation . . .
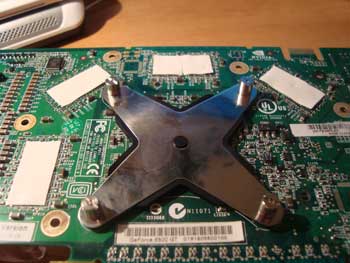
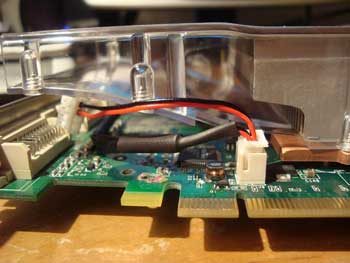
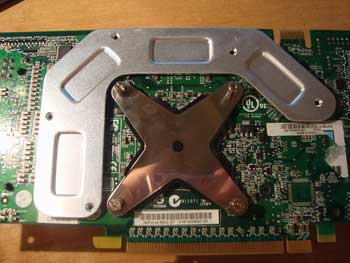
To remove the old one, you simply unscrew the four nuts holding the cooler to the card (Image 1), and unclip the fan cable (Image 2).
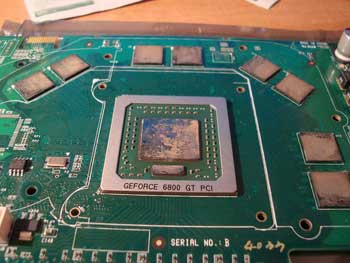
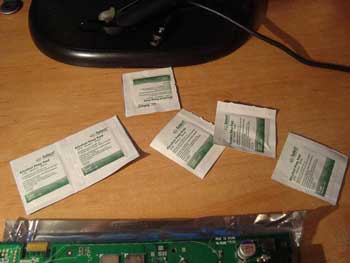
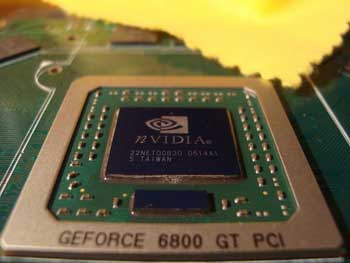
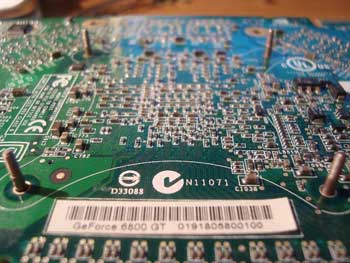
Next, clean off any residue on the GPU and other contact points with isopropyl alcohol and a lint-free cloth. (Images 4, 5, 6)
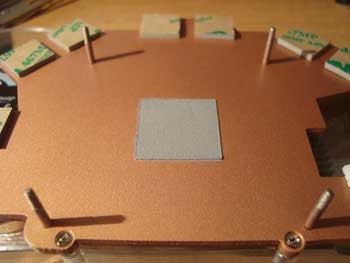
Luckily the GPU cooler comes with thermal compound already on it, but if it didn’t, I would use Arctic Silver 5 thermal compound.
Place the cooler flat on a table with the threaded pegs facing up. Then flip your graphics card so that the GPU is facing down. Align the four screw holes and carefully guide the pegs through them. Once they are through, reattach the metal x-plate rubber side down and screw on the four nuts (the supplied slot cover conveniently works as a flathead screwdriver).
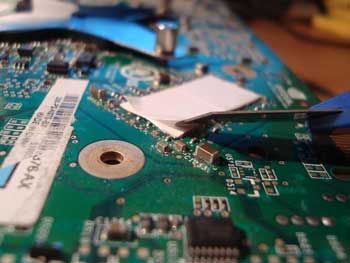
Finally, attach the remaining thermal pads on the backside of the card where the peripheral contact points are on the other side. Although it is dicey to be using a blade this close to the card, you will not be able to peel off the paper without one.
Then attach the passive heatsink by carefully pressing its four raised contact points against the thermal tape you just installed.
After all that, the card is ready to be installed in your computer. Be sure to plug the cooler’s fan cable into the graphics card before you close the case, or your fan will not have power.
By the way, this cooler takes up two slots in the back of the case, one for video ports and one for heat exhaust. This second slot is part of Arctic Cooling’s Direct Heat Exhaust System (DHES). This system is very efficient because it prevents the fan from recirculating warm air inside the case to cool the GPU. Overall, this is a very good cooler and it is unfortunate that the fan bearings in my original one went bad so early. Feel free to stop by my photo album of the entire project

